3D Printing 101

Our Prusa printer
Category: AcubeSAT

3D Printing 101

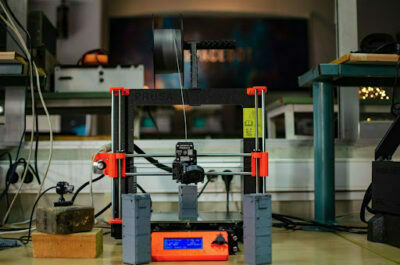
Whether you are a 3D printing hobbyist or not, all members of AcubeSAT suggest Prusa3D. Prusa Research is one of the top open source companies in the 3D printing industry right now. Lots of pizza, a basement and a dream were everything Josef Prusa needed – a Czech hobbyist, maker and inventor – in order to set the foundations for eight floors of a huge old Prague factory designing & constructing 3D printers. Prusa designs both the software and the hardware of 4 different types of printers, which are all open-source. You can find more about Prusa Research and their cool stuff here. Our team had the honor to be  sponsored by Prusa Research that provided us with the award winning Original Prusa i3 MK3S+ 3D printer.

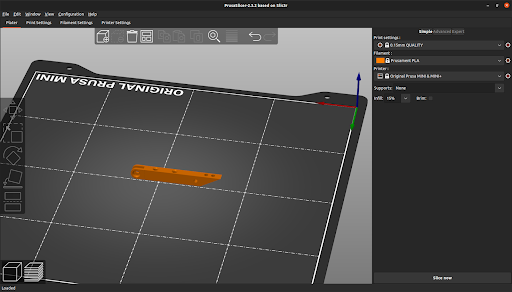
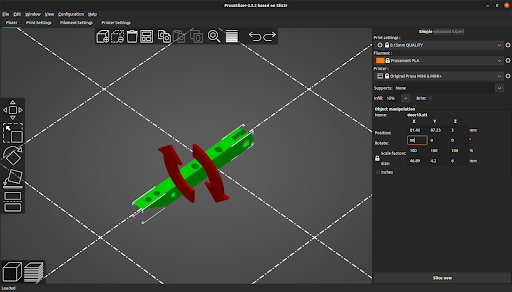
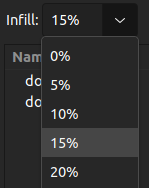
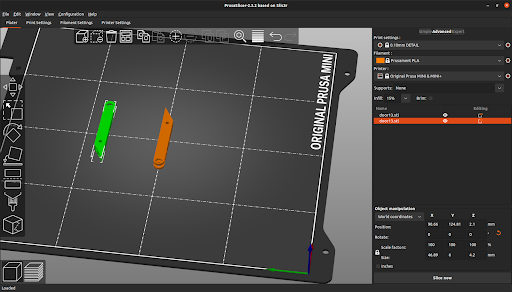
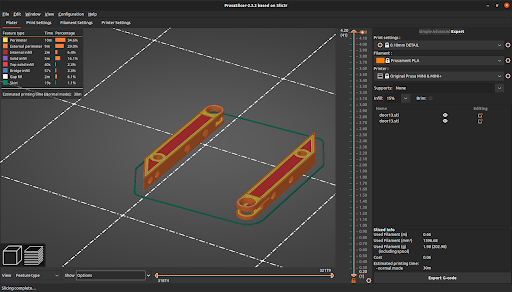
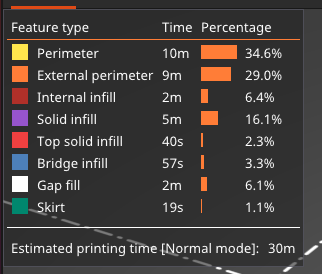
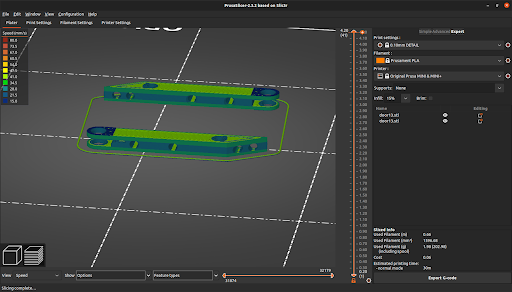
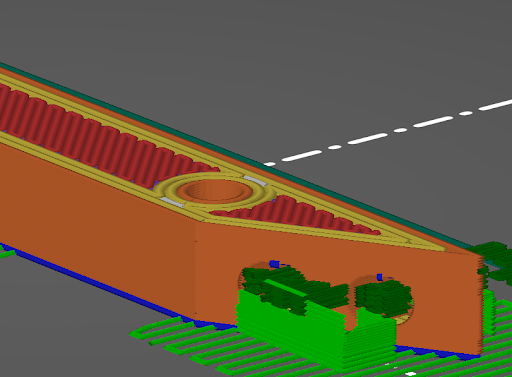
We will now describe the whole process of printing a 3D Prusa Model step by step.  (During the following process it is considered that you have already installed the 3D Prusa Slicer.

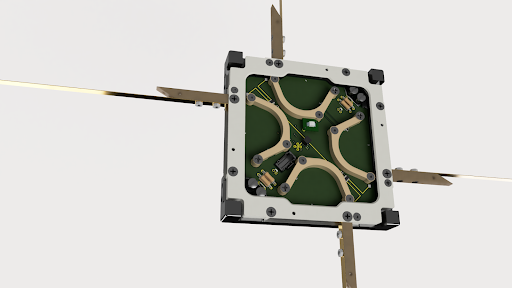
In this demonstration, we will build parts of our homemade Antenna Deployment Mechanism. This is the structure that is responsible for housing and deploying our UHF antenna and is pictured below. For a more detailed description you can read the Mechanisms section of our Critical Design Review.


For this example, you will print the parts responsible for holding the antenna elements coiled in place. The .stl files of the whole structure are uploaded in our Gitlab Project and can be found here.

Antenna Deployment Mechanism

Step #1

You start by simply importing an .stl file into PrusaSlicer by  going to Import->Import STL and selecting the component you want to print.

In the right panel, you can select the print settings, filament type as well as the target printer. This loads pre-configured settings, allowing you to skip the painstaking process of manually adjusting the settings of your printer based on the type of your filament. You can of course use generic infill, but you can also find Prusament which is quality infill specifically designed to be compatible with Prusa printers.

You can also rotate the objects and move them around the plate. When doing so, try to keep in mind what the optimal position is in respect to the printer. Generally you want to find the orientation that would allow the minimum number of areas that need support material in order to be properly printed. For more complex shapes, this process becomes more involved, but we will leave it simple for now since the geometry you are dealing with is quite simple.

By navigating to the Infill section on the left side, you can choose the appropriate infill density based on the robustness and the solidity needed in the printed structure. Higher infill density translates into more sturdy prints but it is accompanied by longer printing durations and higher filament usage.

Step #2

You can easily add multiple objects to be printed simultaneously by selecting the Add… option from the top taskbar.

Once added, objects can be independently edited.  By going into the Advanced tab, you can see the different objects you have loaded in the project.

Step #3

There are also various settings you can configure which control parameters like the height of the print layers, type of infill and fan speed. There are way too many settings to even touch here so we will simply refer you to the relevant documentation. Unfortunately, there is no nice “ultimate guide” that contains all the information you will need for learning what the importance of each option is. Much of what you need to learn comes from trial and error. If you want to get started, this is a pretty comprehensive guide with regards to the basic parameters that you may need to tweak in order to achieve optimal quality of your prints.

Step #4

Sliced elements

When everything is set-up, press the Slice now  button on the bottom right corner of the slicer. This generates the G-code file that you will need in order to print the structure. This file includes the information needed  for the printer’s motors in order to know where to move, how fast to move, and what path to follow.

Once you have generated the G-code, you can also choose the “View” type from the bottom left corner. Different view options allow you to check important parameters of your model.

In the example above, we have chosen the “Feature type” view, which indicates the path that the printer will follow while printing each feature, as well as the time needed for that.

Speed view

 Another important view is the Speed view, which informs you about the printer’s speed while printing specific parts of the design. These view options give you the chance to modify and adjust your design before printing it, in order to achieve the desired result.

Step #5

There are also various settings you can configure which control parameters like the height of the print layers, type of infill and fan speed. There are way too many settings to even touch here so we will simply refer you to the relevant documentation. Unfortunately, there is no nice “ultimate guide” that contains all the information you will need for learning what the importance of each option is. Much of what you need to learn comes from trial and error. If you want to get started, this is a pretty comprehensive guide with regards to the basic parameters that you may need to tweak in order to achieve optimal quality of your prints.

Your model is now ready to be printed!

BONUS Tip: Always keep an eye on your printer!

There is always a chance of something going wrong while printing your model and nobody but us – SpaceDot members- can confirm! So… should you stop printing? NO! You just have to make sure that every time something goes wrong, you will be there to stop it. We decided to dedicate a camera that is always on and pointed at the printer and stream its status via Discord. This way, everyone can hop in any time and check on our prints.

And since a picture is worth a thousand words, this is our set-up


Our Prusa printer
Discord integration of our printer

Share this post